
A Beginner’s Guide to Making Your First Knife Using a Bucktool 2-in-1 Belt & Disc Sander
Ready to make your first knife? This guide walks you through profiling, bevel grinding, heat treatment, handle shaping and final sharpening using a Bucktool 2-in-1 Belt & Disc Sander—simple, beginner-friendly steps that help you achieve clean, professional, reliable results while building confidence in every stage of the knife making process.
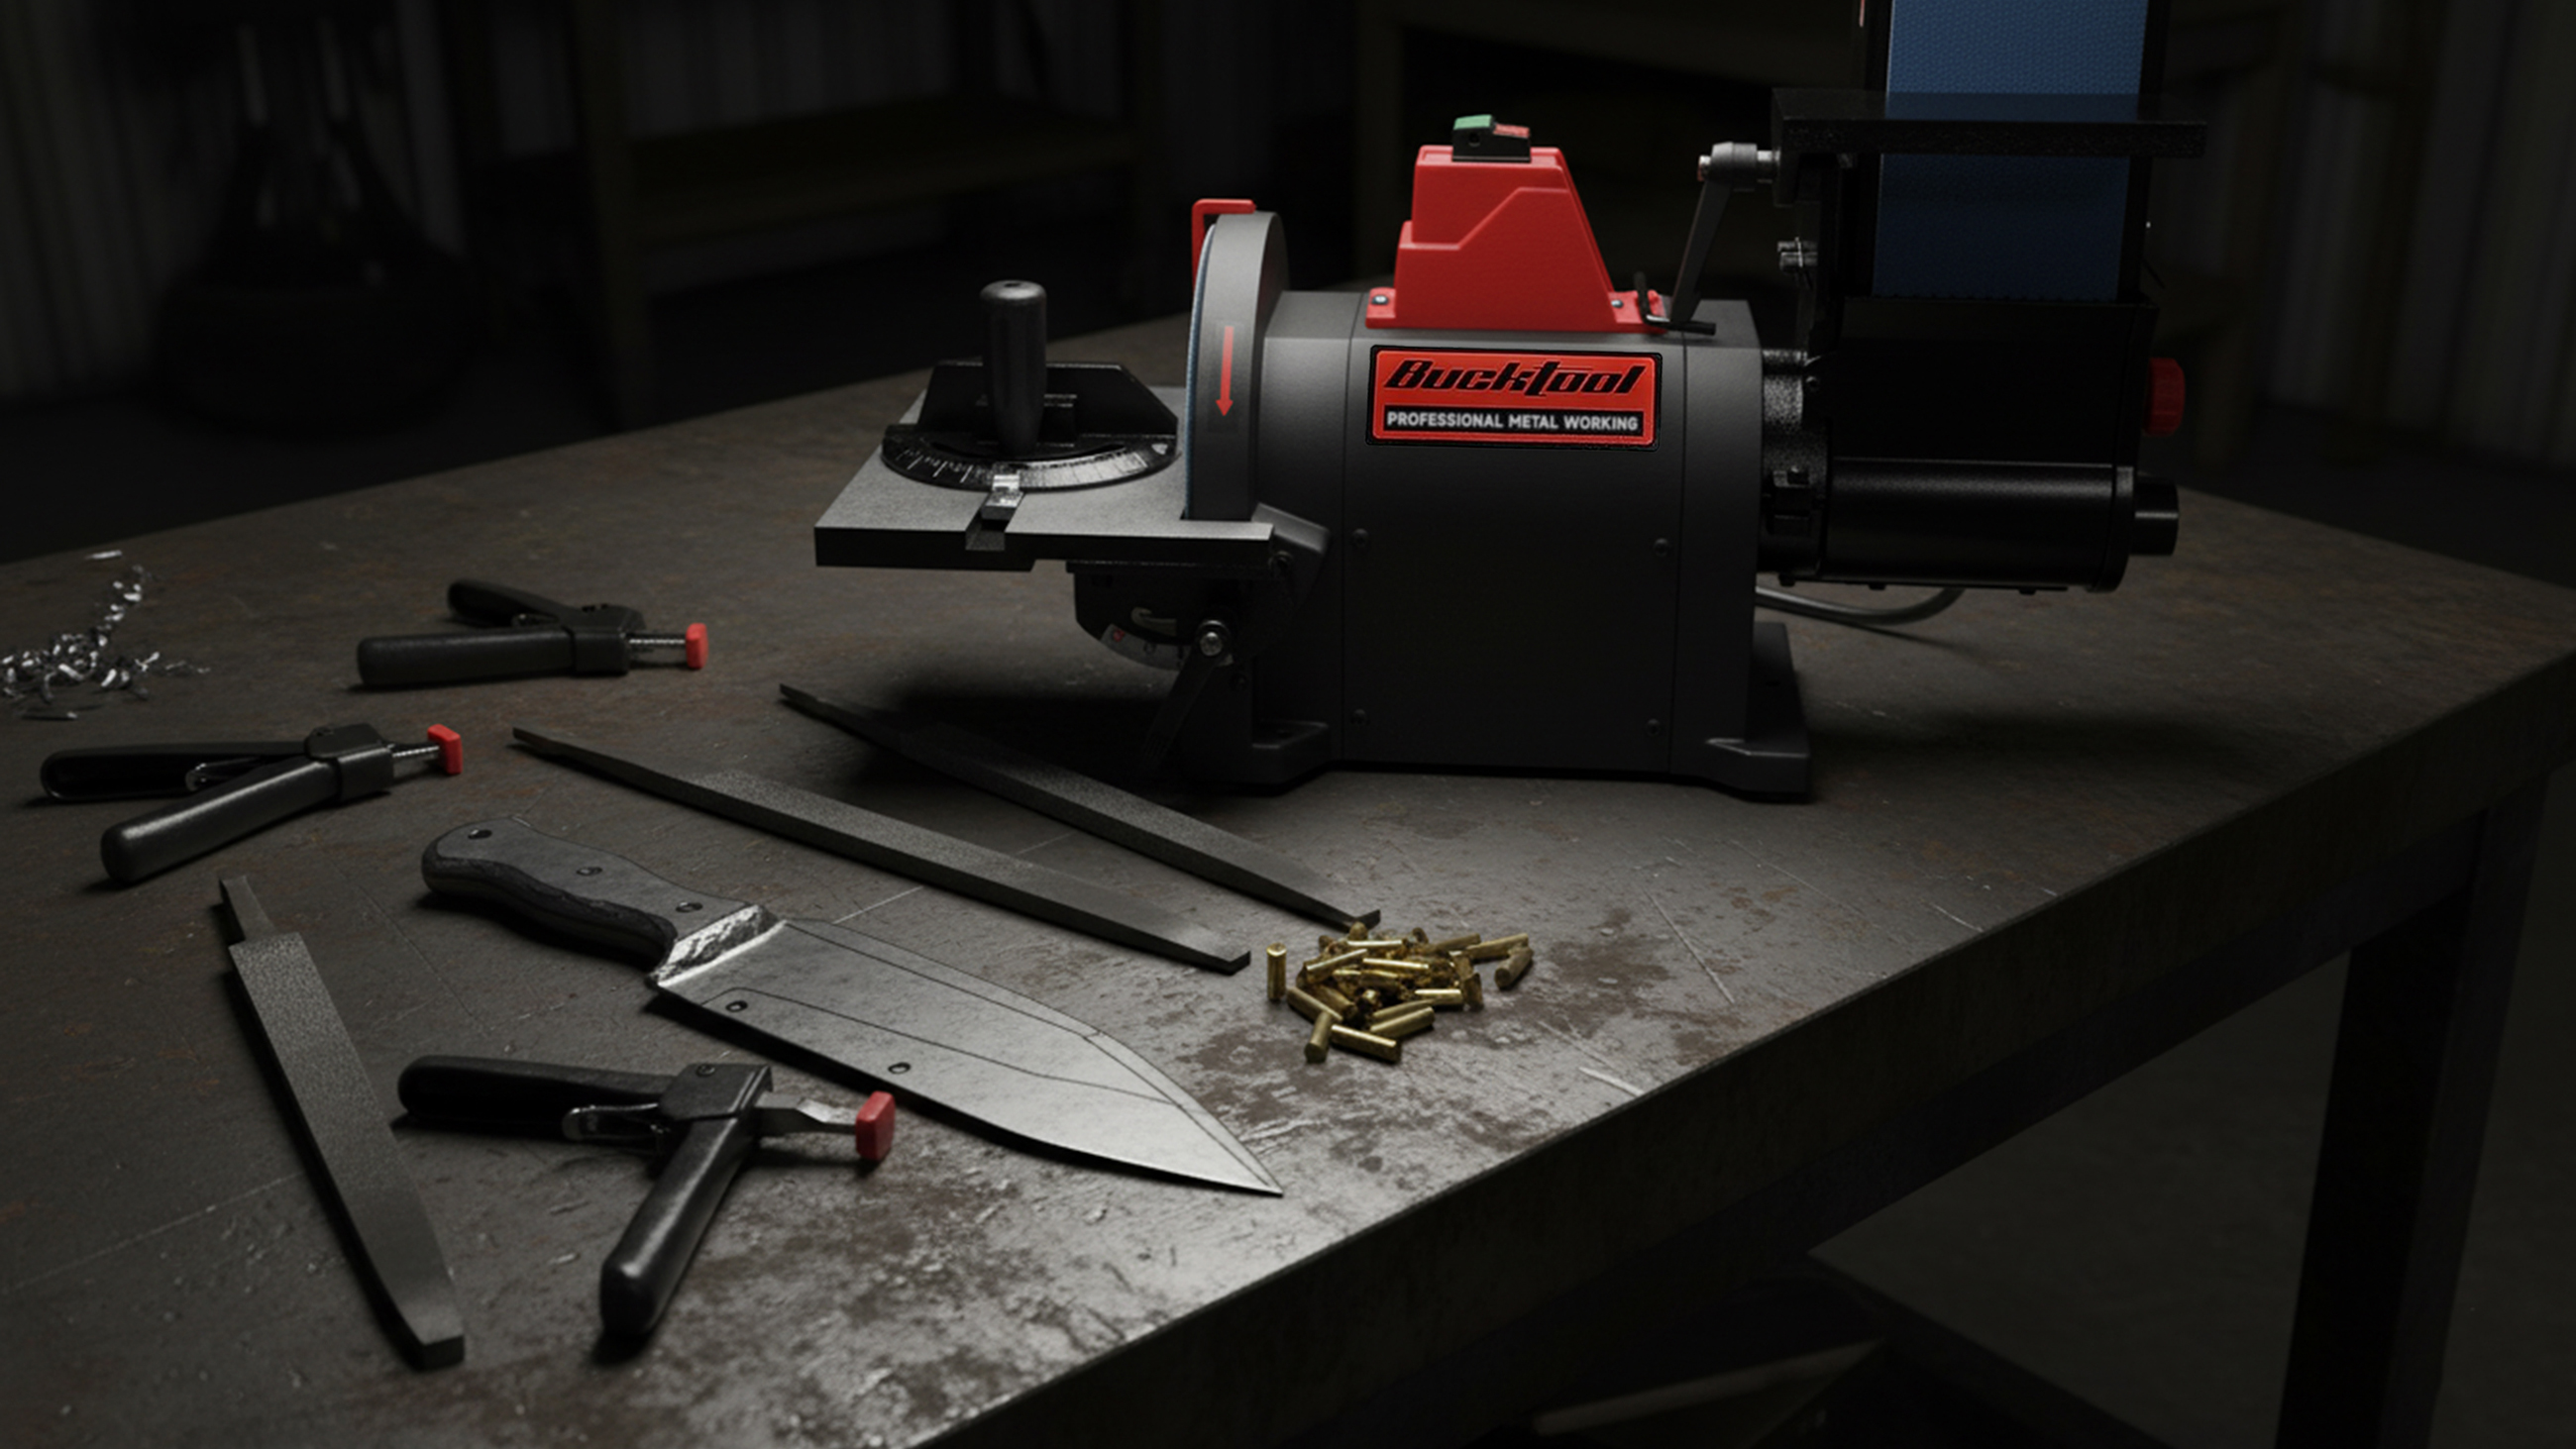
Essential Steps for Crafting Your First Knife with a Belt & Disc Sander

Knife making is one of the most rewarding workshop crafts—an ideal blend of creativity, precision and hands-on skill. If you’re creating your first knife, the process can feel intimidating, but the right tools make a world of difference. A Bucktool 2-in-1 Belt & Disc Sander, such as the BD4603 or BD4801, gives beginners a stable, versatile and powerful platform for shaping, grinding and refining blades with confidence. This guide walks you step-by-step through the fundamental stages of making your first knife, focusing on safe techniques and practical workflow.
Choosing the Right Steel for Your First Knife
Before you start grinding, you need a steel blank. Beginners often choose simple, forgiving high-carbon steels such as 1084, 1095 or O1. These materials shape easily, respond consistently to heat treatment and hold an edge well. Start with a piece that is 3–4 mm thick and long enough to form both the blade and handle.
Avoid stainless steels for your first project—they require more precise heating and more aggressive abrasives to grind efficiently.
Designing Your Knife Profile
Sketch your knife shape on paper or directly onto the steel blank using a marker. Keep the design simple—a drop point, straight-back or smaller utility knife is ideal for learning. Make sure to include:
- Blade length appropriate for beginners (typically 8–12 cm)
- Handle shape that provides a natural grip
- Tang outline for attaching handle scales
Once you’re happy with the profile, cut out the shape using a hacksaw, angle grinder or metal band saw. This rough cut is only the starting point—the real shaping begins on the belt & disc sander.
Shaping the Knife Profile on the Belt Sander
Mount a coarse-grit sanding belt (36–60 grit) onto your Bucktool sander. Coarse belts remove material quickly and help you establish the basic silhouette of the knife.
Use the flat platen behind the belt for straight edges and the contact wheel for curves. Keep your strokes smooth and use light-to-moderate pressure. The goal is to refine the outline until it matches your drawing precisely, with clean curves and symmetrical lines.
As you shape the knife, check frequently from multiple angles. Even small errors in the silhouette can influence the final balance and appearance of the finished knife.
Grinding the Bevels – The Heart of Knife Making
Grinding bevels is the most exciting part of creating your first knife. Switch to an 80–120 grit belt to begin shaping the bevels. Start with shallow passes, keeping the blade at a consistent angle.
Here are helpful tips for beginners:
- Use both hands—one on the handle, one guiding the blade.
- Make long, continuous passes to avoid uneven grind marks.
- Alternate sides frequently to maintain symmetry.
- Dip the blade in water every few seconds to keep it cool.
Let the belt do the cutting—if you push too hard, the blade will heat up quickly and your bevel will become uneven. A direct-drive Bucktool sander maintains consistent torque, making it easier for beginners to achieve smooth, controlled bevels.
Smoothing and Refining the Blade Surface
Once the bevels are established, switch to higher-grit belts (220, 400 and even 600 grit). These belts remove deep scratches, refine the geometry and prepare the knife for heat treatment.
Use the disc sander for flattening the spine, squaring the tang or refining the plunge line. The disc offers excellent control for 90° surfaces.
Drilling Holes for Handle Pins
Before heat treatment, drill the tang holes for pins or rivets. Use a drill press to ensure clean, straight holes. Mark your hole positions clearly and clamp the blade firmly before drilling.
Drilling before heat treatment is essential—once hardened, the steel becomes much more difficult to drill.
Heat Treating Your Knife
Heat treatment strengthens the blade, improving edge retention and durability. The basic steps for simple high-carbon steels are:
- Heat the blade evenly until it reaches critical temperature (non-magnetic)
- Quench in oil to harden the steel
- Temper in an oven at 180–200°C to reduce brittleness
If this is your first knife, don’t worry about achieving absolute perfection—learning heat color, timing and quenching technique takes practice.
Final Sanding, Polishing and Edge Preparation
After heat treatment, return to your Bucktool belt sander for post-quench cleanup. Use 220–400 grit belts to remove scale and refine the finish. Avoid overheating—heat can draw the temper and soften the hardened edge.
High-grit belts (600–1200) or polishing belts create a smooth, professional finish. Many beginners choose a satin finish, which both hides small imperfections and looks clean and modern.
Adding and Shaping the Handle
Whether you prefer wood, G10, micarta or another material, shaping the handle is one of the most satisfying parts of knife making. Attach your handle scales using pins and epoxy, then shape them on the belt sander using 80–120 grit belts.
Round the edges, refine the palm swell and make sure the handle fits comfortably in your hand. Finish with fine-grit belts and hand sanding for a smooth, consistent texture.
Sharpening the Edge
The final step is sharpening. You can use whetstones, a guided sharpening system or a wet grinder. Start with a coarse stone and gradually work up to finer grits. Aim for a consistent bevel on both sides and check sharpness frequently.
For your first knife, don’t chase perfection—focus on learning the feel of the steel and the geometry of a sharp edge.
Conclusion: Your First Knife Is Just the Beginning
Making your first knife using a Bucktool 2-in-1 Belt & Disc Sander is an exciting experience that teaches you essential shaping, grinding and finishing skills. Each knife you make will sharpen your abilities and deepen your understanding of steel, tools and craftsmanship. With patience, clean technique and the versatility of a quality belt & disc sander, you’re well on your way to becoming a confident knife maker.
Last articles


